Posts
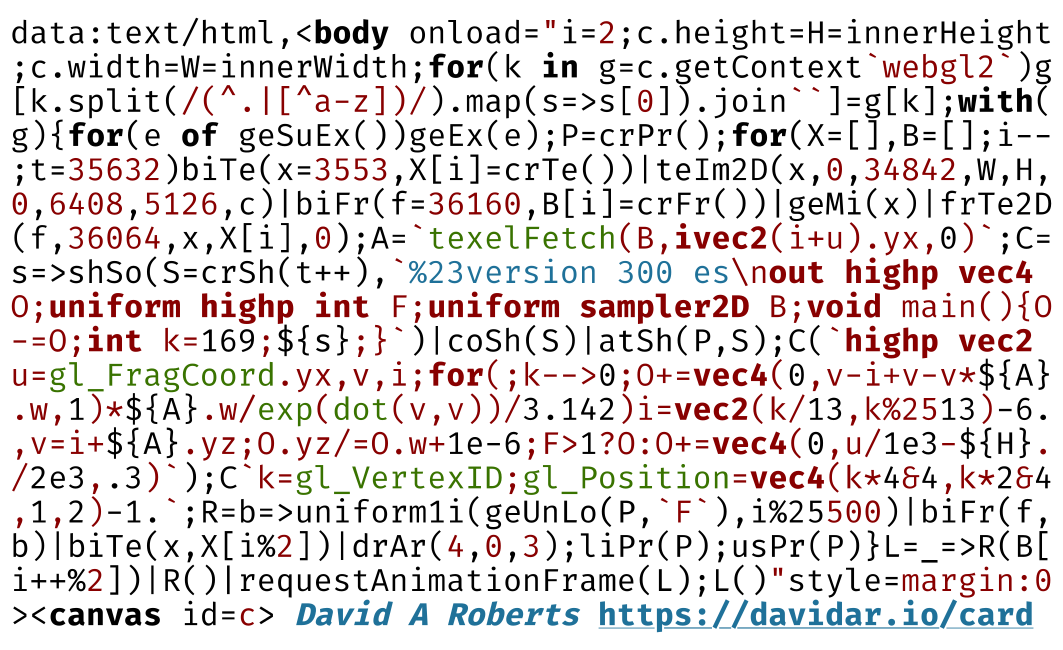
Business card fluid simulator
A self-contained version of my tiny fluid simulation, compressed to fit on the back of a business card.

Fluid simulation in one tweet
This post dissects my tiny fluid simulation, implemented in a surprisingly small amount of code.
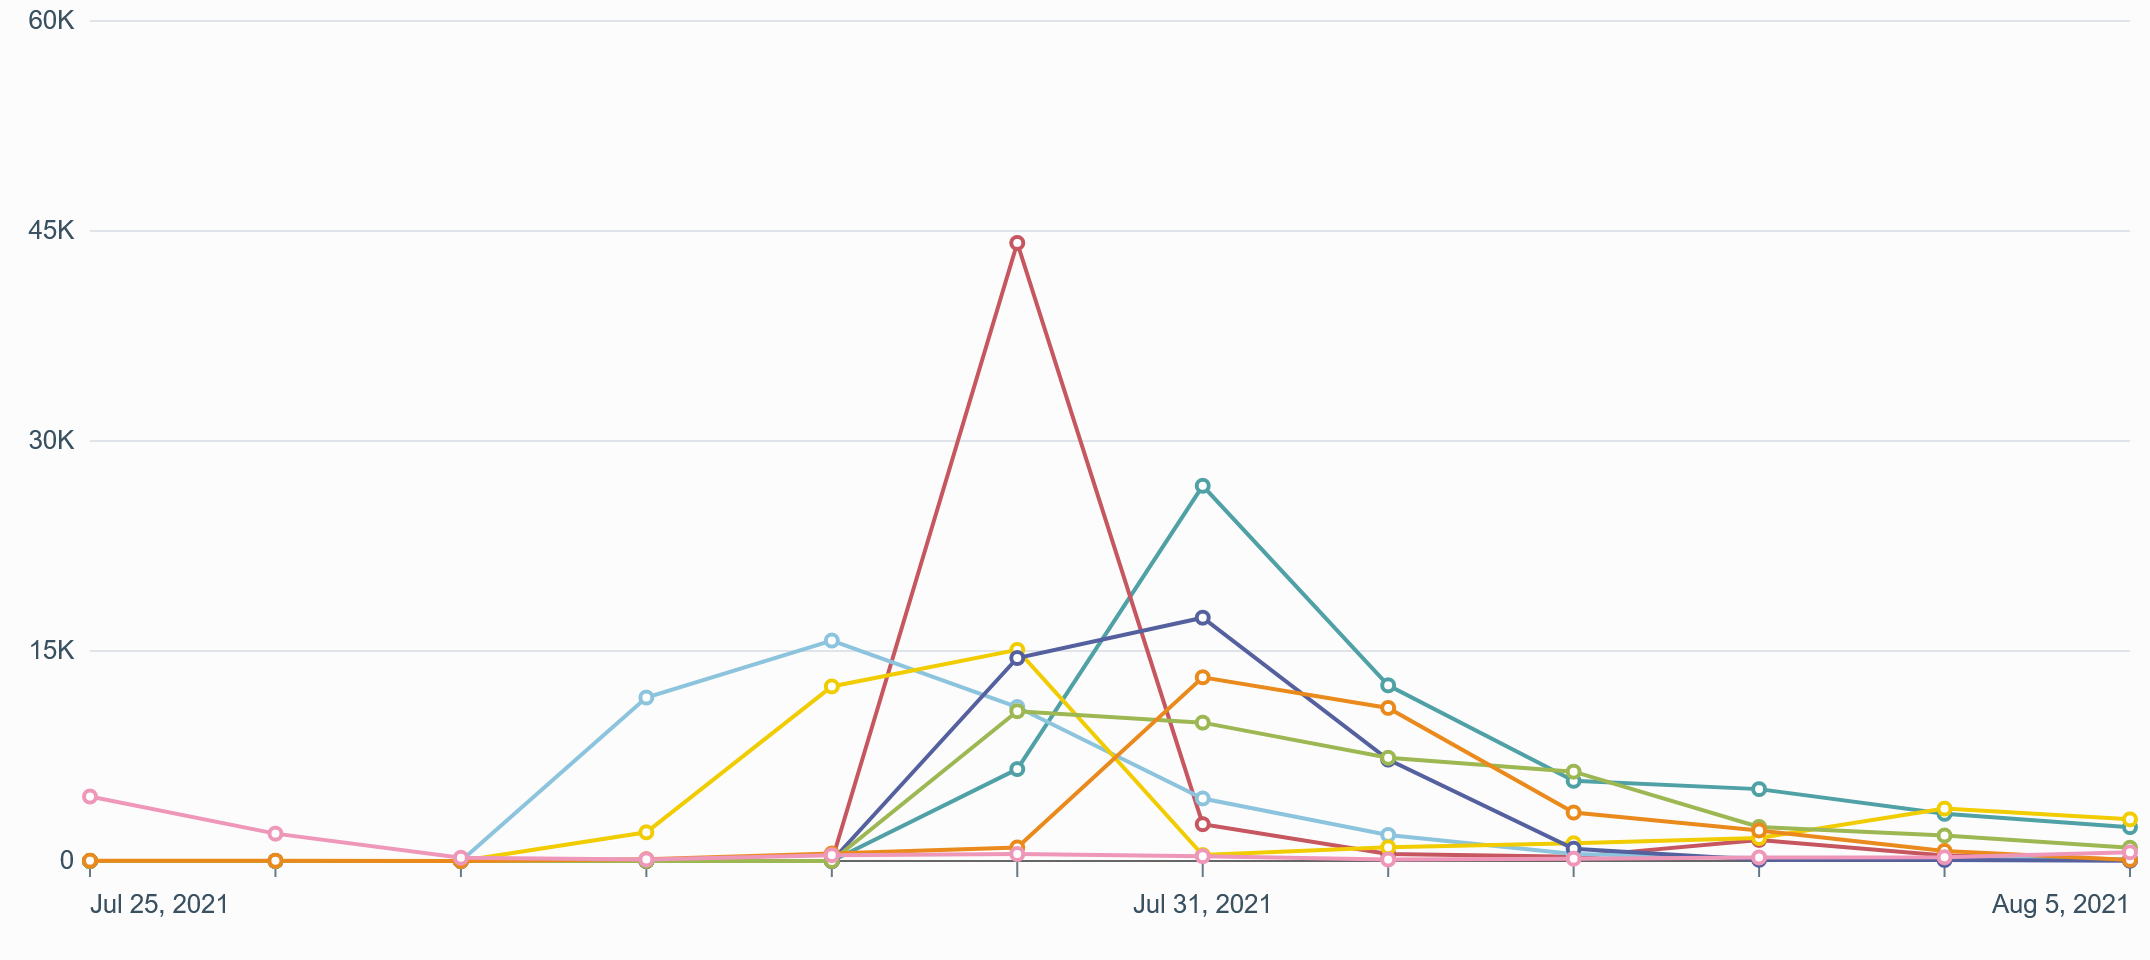
Going viral
My previous post received a lot more attention than I had been expecting. This is a short debrief of my experience.
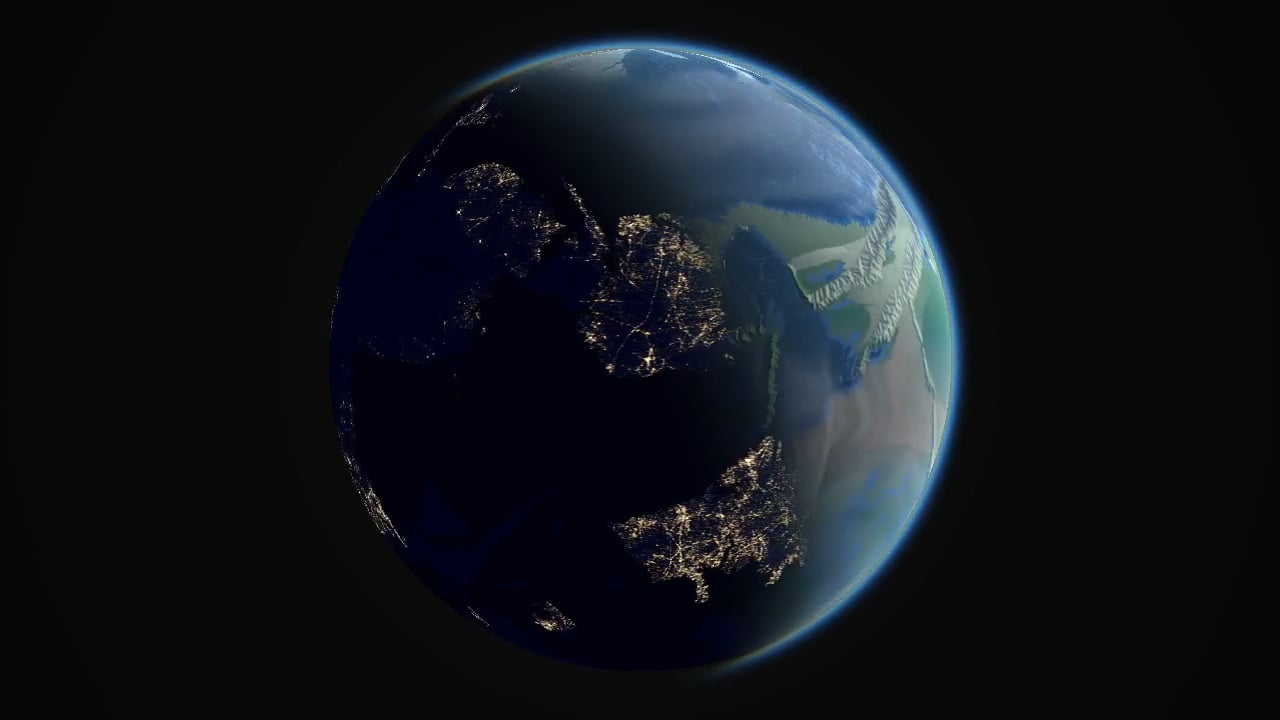
Simulating worlds on the GPU
This post delves into the implementation of my procedural earth simulation, written entirely in GLSL fragment shaders. It simulates the complete history of an earth-like planet in a few minutes, with the simulation updating at 60 frames per second.

Shaders of Schrödinger
This is a quick tutorial on implementing a simple quantum mechanics simulator in a GLSL fragment shader. Prior knowledge of physics or GLSL is not required, but some familiarity with differential equations and C/C++ will be helpful. The goal is not to explain any of the physics involved, merely to demystify it by demonstrating how it can be simulated in less than 50 LOC.
Projects

Stochaskell
Haskell Python C++ Stan TensorFlow Jupyter Docker
A probabilistic programming language embedded in Haskell.

Fragment Shaders
GLSL WebGL
GPU simulations and visualisations submitted to Shadertoy.

Polya
Python 2 Cython C++
Library for performing statistical inference with Pólya urn models.
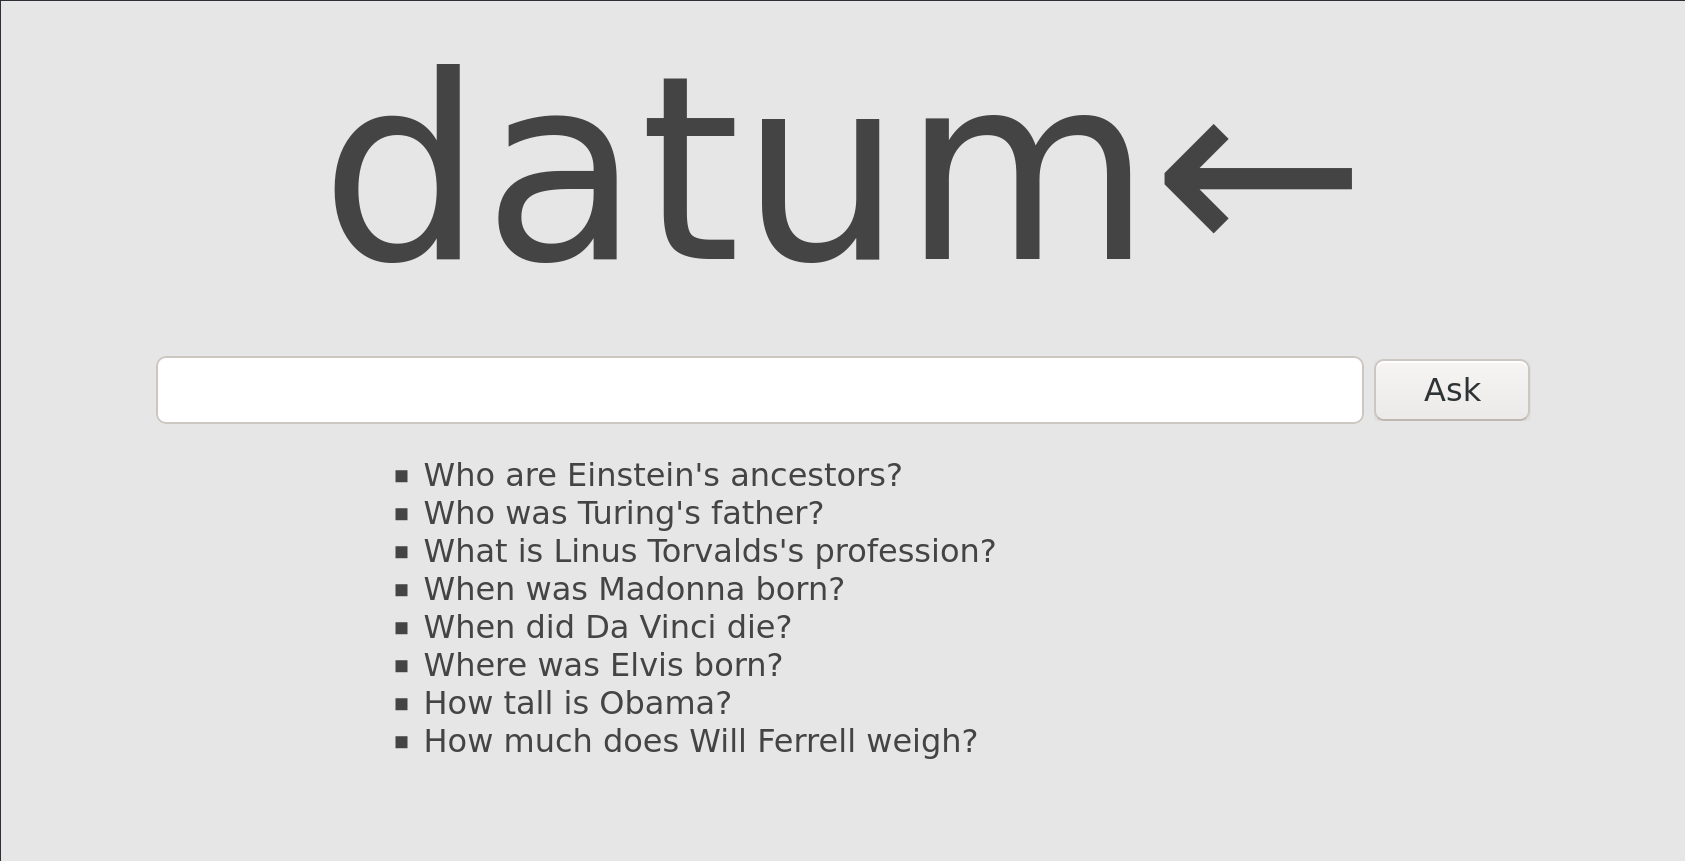
Datum
Java 6 ANTLR
Question Answering system, implementing a subset of Prolog (Datalog).
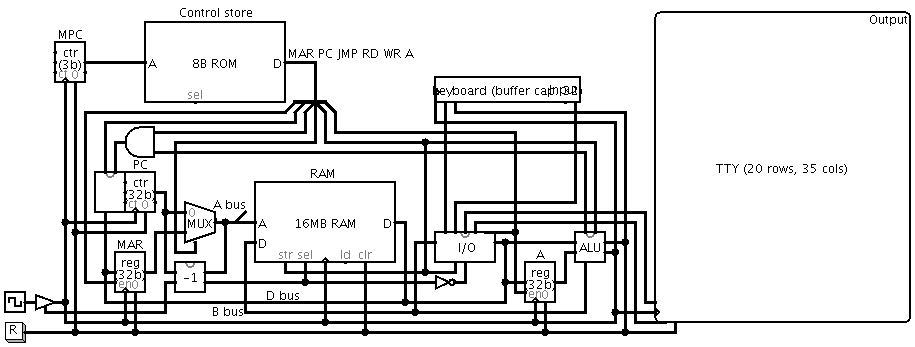
SUBLEQ CPU
Logisim C JavaScript Star
CPU design and toolchain for a simple computer architecture.


PixelStruct
C++ Qt4 OpenGL Star
A tool for visualising 3D scenes reconstructed from photographs.